2026-12-13 · 3 min read
How to Build a Paver Fire Pit in a Weekend: Materials, Layout and Seating
A paver fire pit is the classic DIY win: no masonry certification, no welding, just block, gravel, adhesive, and a weekend. Contractor quotes for…
By AeternusVita
We make the products recommended here.
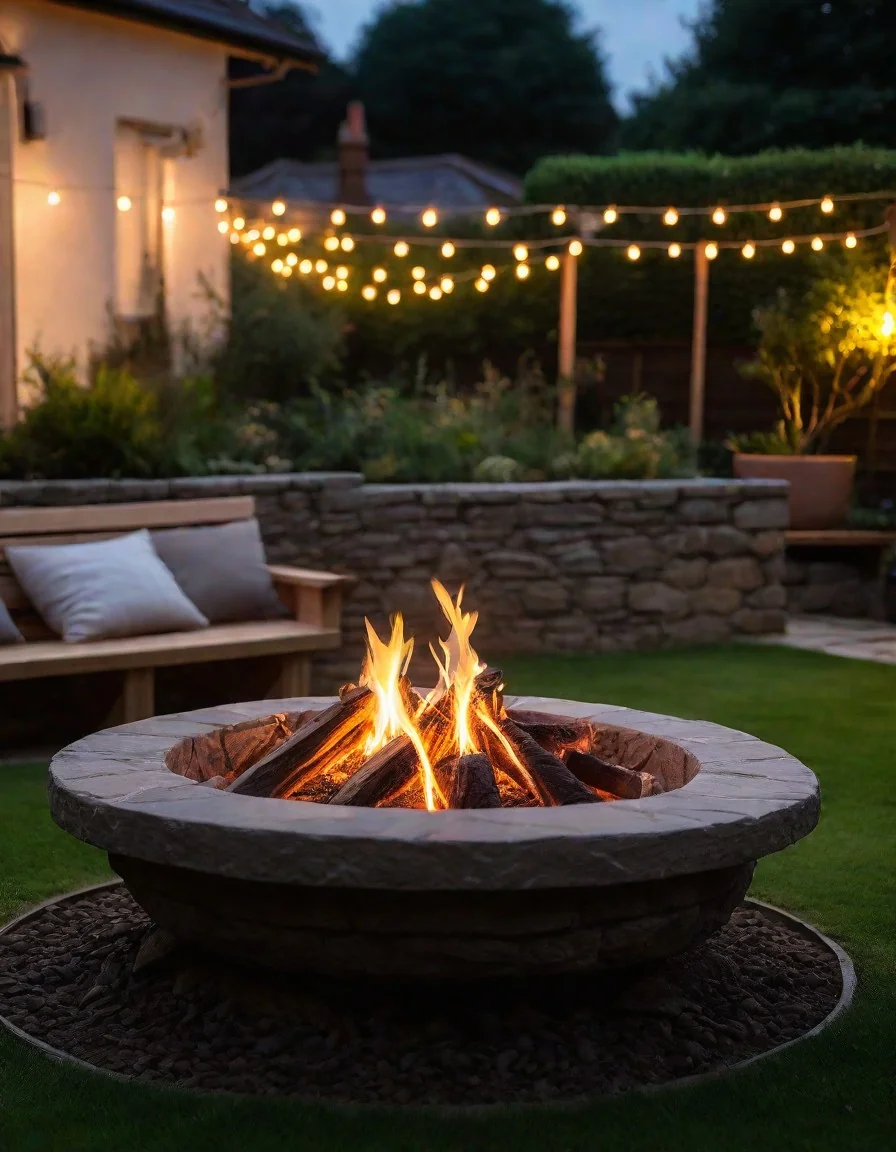
A paver fire pit is the classic DIY win: no masonry certification, no welding, just block, gravel, adhesive, and a weekend. Contractor quotes for built-ins often run £19,500 and up; a self-built paver pit typically costs a fraction of that in materials. Here is the plan in the order that prevents rework.
Materials and tools: buy once, build once
For a standard ~36–44 inch interior-diameter pit: concrete wall block or paver stones rated for the application (roughly 50–70 units depending on size and courses), 2–3 bags of gravel for base and drainage, landscape/construction adhesive rated for outdoor heat exposure, a steel fire-pit insert ring (strongly recommended — it shields block from direct flame and extends pit life), plus a spark screen and fitted cover.
Tools are modest: shovel, tamper or hand compactor, 4-foot level, tape measure, caulk gun, rubber mallet, and a string line with a stake for scribing the circle. Safety gear (gloves, eye protection, dust mask for cutting) is non-optional.
Day one: site, base and first courses
Confirm placement first: 10-foot minimum clearance from structures, fences, and overhangs; level ground; utilities located (call 811 before any digging). Scribe your circle, excavate 6–8 inches, and lay 3–4 inches of compacted gravel in lifts — tamping between each. A flat, compacted base is the entire secret to a pit that does not lean in year two.
Dry-lay the first course on the gravel and level each block before adding the second; stagger joints like brickwork. Backfill behind the outer wall with gravel for drainage as you rise. Three to four courses is the typical finished height.
Day two: ring, cap and seating circle
Set the steel insert ring inside the block wall with an even gap, add adhesive between courses per the product's cure times, and cap or finish the top course neatly. Let adhesive cure fully before the first burn — impatience here is the most common rookie error.
Then zoom out to the living space: a gravel or paver apron extending well beyond the pit gives chairs stable footing and catches stray sparks. Arrange seating outside the heat radius in a full or three-quarter circle, keep a water source or extinguisher within steps, and do a wind check at evening burn hour before calling it done.
Finishing touches that make it last
A spark screen and weather cover each add years of life — treat them as part of the build, not optional accessories — screens contain embers during burns, covers keep freeze-thaw water out of the block between them. Clean ash regularly (cold ash only, and cold means cold), re-check block level annually, and store cushions and throws clear of the heat zone. First burn: keep it modest, watch smoke behavior toward neighbors, and enjoy the thing you built. Take a photo of the finished layout with measurements noted — future you will thank present you when it is time to extend the patio or replace the ring.
How this book helps
Fire Pit & Outdoor Living Plans (available here) give you this build in blueprint form: pit construction options with material lists and diagrams, safe-clearance and permit guidance, and seating layout ideas for the full outdoor room.
Build the garden to match: the Container Gardening Complete System landscapes your new patio with productive plantings. And the excavated sod and trimmings from site prep? The Composting Mastery System turns them into next season's soil.
DIY guidance only — verify local fire codes and permits before building, call utility locators before digging, and have any gas or structural elements professionally inspected.
Related articles
2026-12-12 · 3 min read
Wood vs Gas vs Smokeless: Which Fire Pit Fits Your Backyard and Budget?
The fire pit aisle is genuinely confusing: crackling wood rings, push-button gas burners, double-wall "smokeless" stoves — each with passionate fans…
Read article →2026-12-11 · 3 min read
Do I Need a Permit for a Backyard Fire Pit? Safety, Clearances and Codes
A fire pit is the fastest way to make a backyard feel like a destination — and the fastest way to meet your local fire marshal if you build it wrong.…
Read article →2027-04-20 · 4 min read
Build a Fence in One Weekend: What a Realistic Two-Day Timeline Looks Like
"Build a fence in a weekend" sounds like marketing — until you see how professionals actually pace the work. A fence is one of the most…
Read article →